POSTS
3D Printed Buster Sword
 Perfect for Social Distancing
After Shelter-In-Place started, I wanted to keep busy with a huge project. For a few years, I’ve always wanted to 3D print a life-sized Buster sword, Yet never had the time to dedicate to it. What time could be better than now!
This blog is supported through Amazon Affiliate links. When you buy through product links, I may earn commissions to help fund future projects.
Printing
I got the printer-ready 3D model from MyMiniFactory. The design of this sword is from Crisis Core.
I built my first 3D printer, a Makerfarm Prusa i3, way back in 2013. Over the next few years, I upgraded bits and pieces of it. In 2018, I got an upgrade kit to convert it to a Makerfarm Pegasus 12". The 12" print bed of the Pegasus was plenty big enough for printing every part of the buster sword model.
The plastic that I used for this print was 3mm light grey PETG, from overture 3D. They also offer 1.75mm PETG filament. I wanted to use PETG for this project, as it is very strong and does not warp for large parts like ABS does. PLA could be another good choice for a print like this. I wouldn’t recommend ABS, as the parts for the sword are very large and would likely warp or crack.
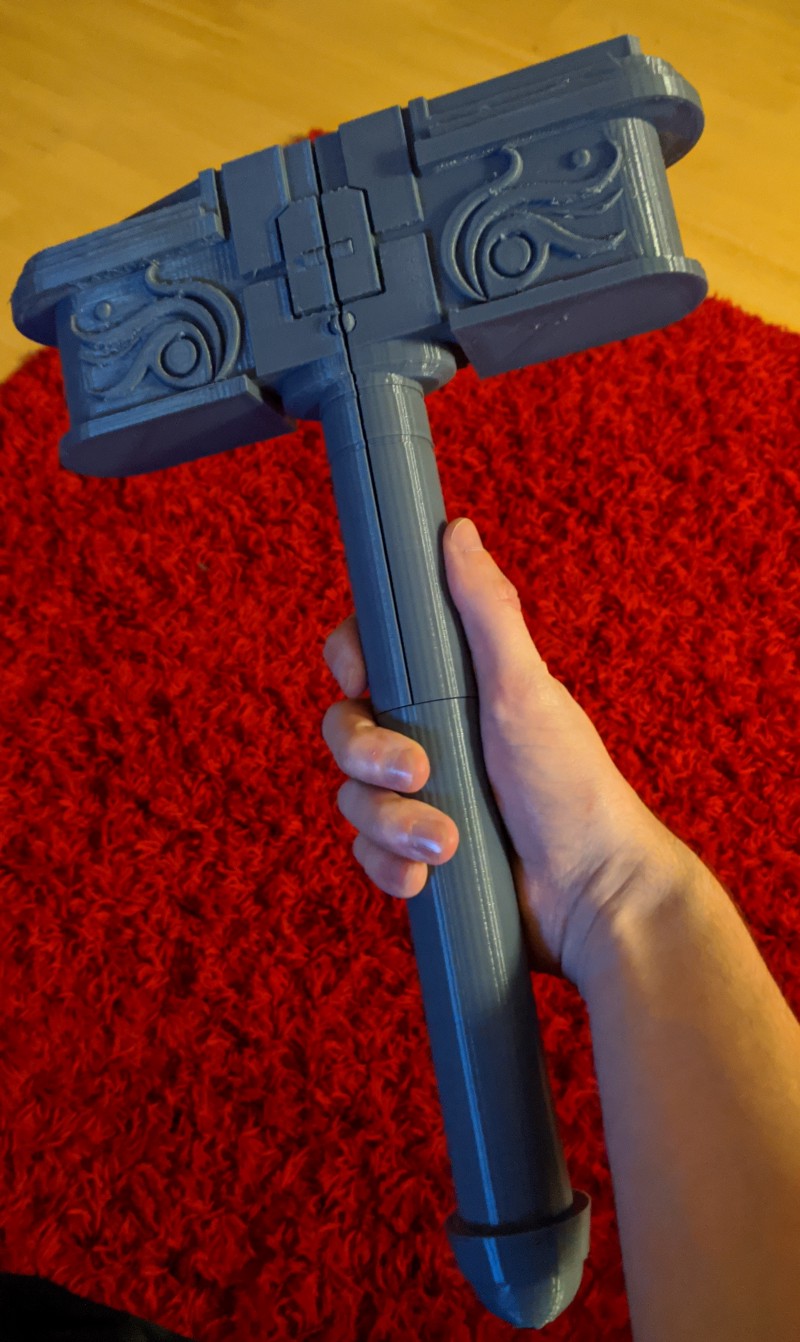
I started by printing the handle of the sword, using a thick infill density setting to give it strength. This helped, but we can do better. I drilled a hole down the handle and added a metal rod inside, before I epoxied the parts together.
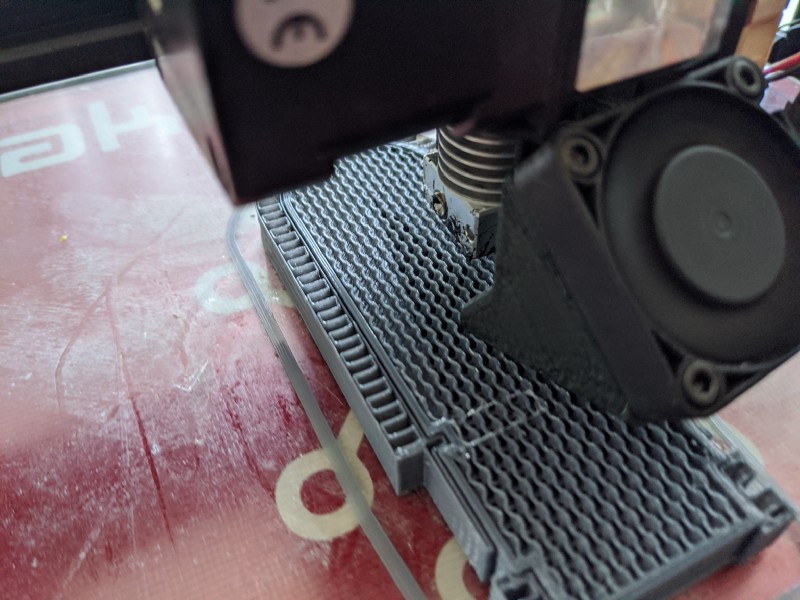
For printing the blade itself, I decreased the infill density to give it less weight.
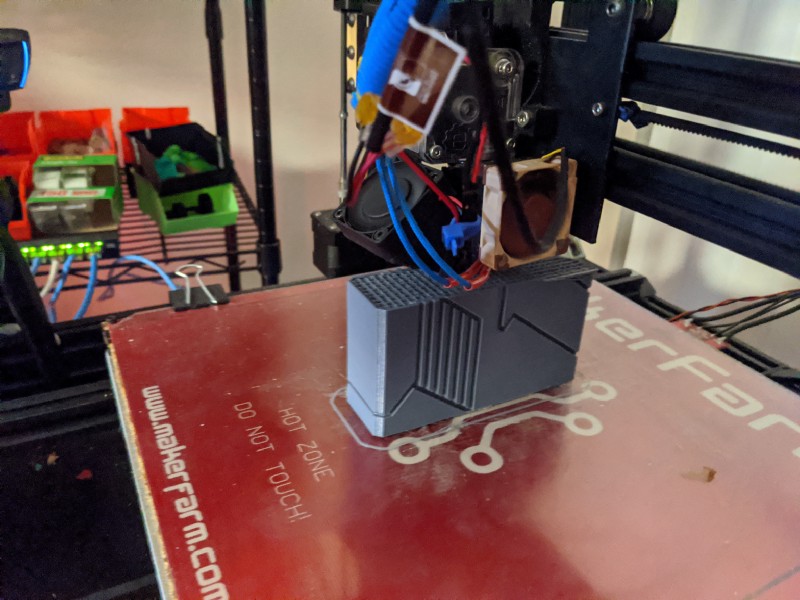
While printing one of the parts of the blade, I had a power outage, and ended up with a print that wasn’t completed. I measured how tall the unfinished part was, and used Prusa Slicer to cut the model and print the rest of the part.
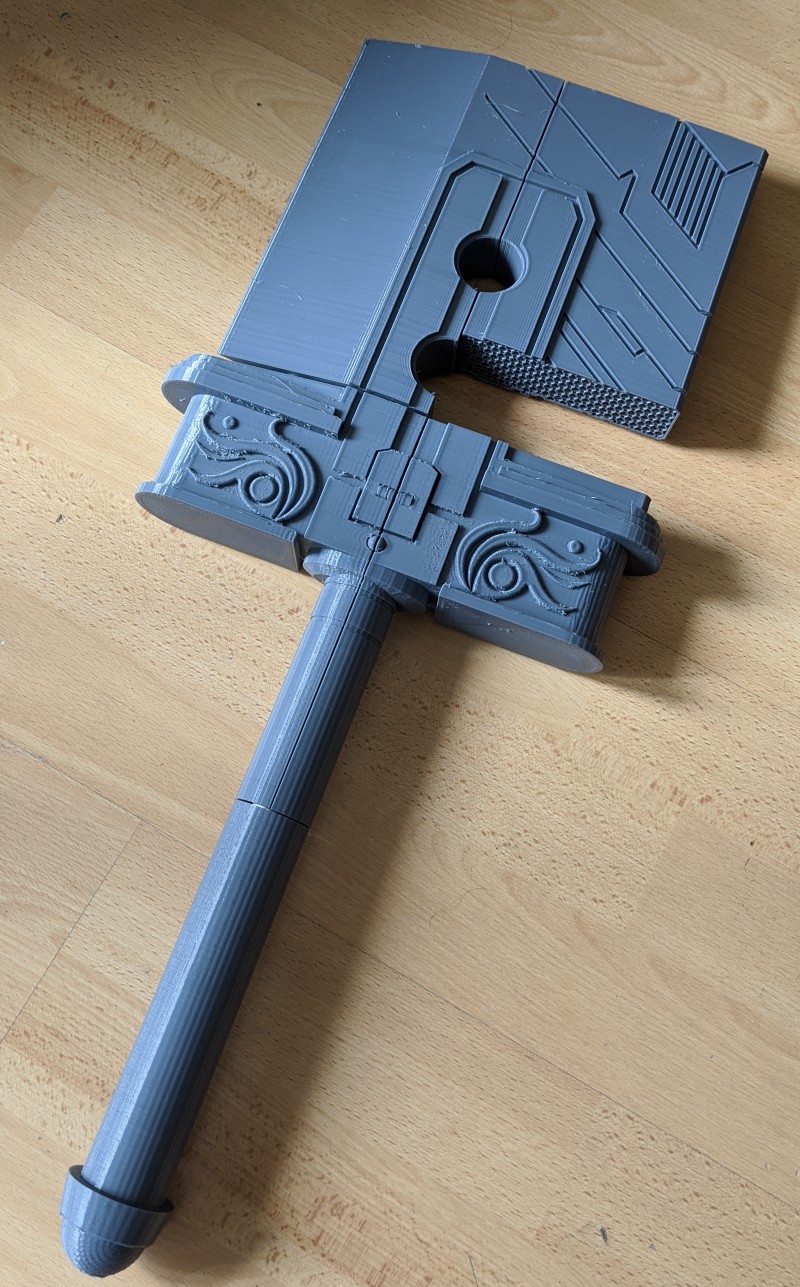
I went through about 3 spools of plastic, and it took about 200 hours of printing. Other than the power outage, I didn’t have any print failures, which was very impressive!
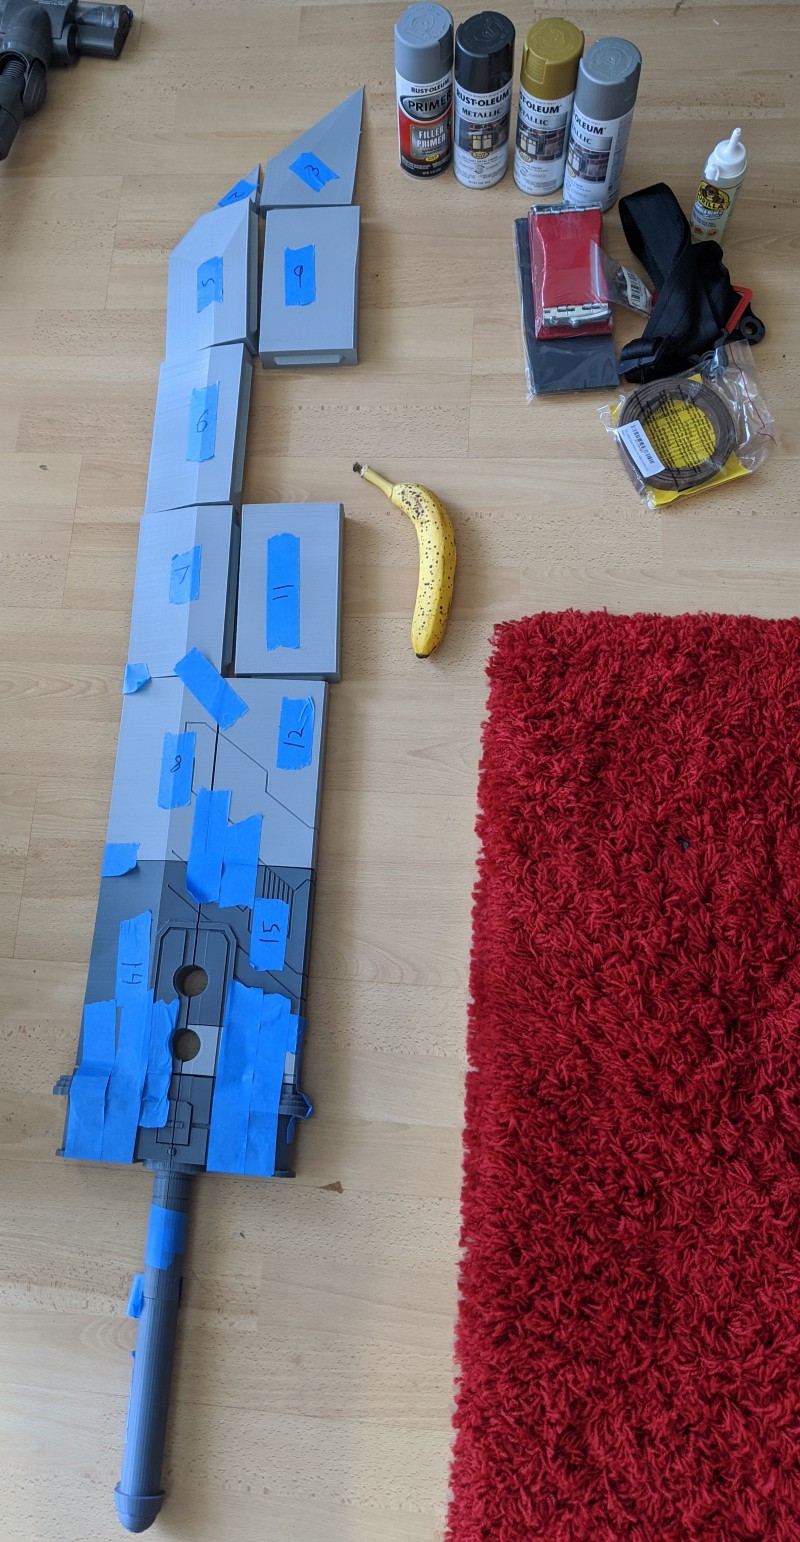
Assembling
The 200 hours of printing was the easiest part of the project. The real challenge came in assembling and finishing the sword.
I first tested out Gorilla Glue to attach parts, after clamping them together. I found the glue didn’t bond to the plastic very well, it would wiggle a bit and fall apart. It also turns out that primer does not stick to gorilla glue. The primer would bubble and peel off without sticking. This was no good!
I found Gorilla Epoxy worked far better. It was smelly, and required waiting several hours for it to cure, but the resulting bond was very strong. The finished sword does not crack or break when held parallel to the ground.
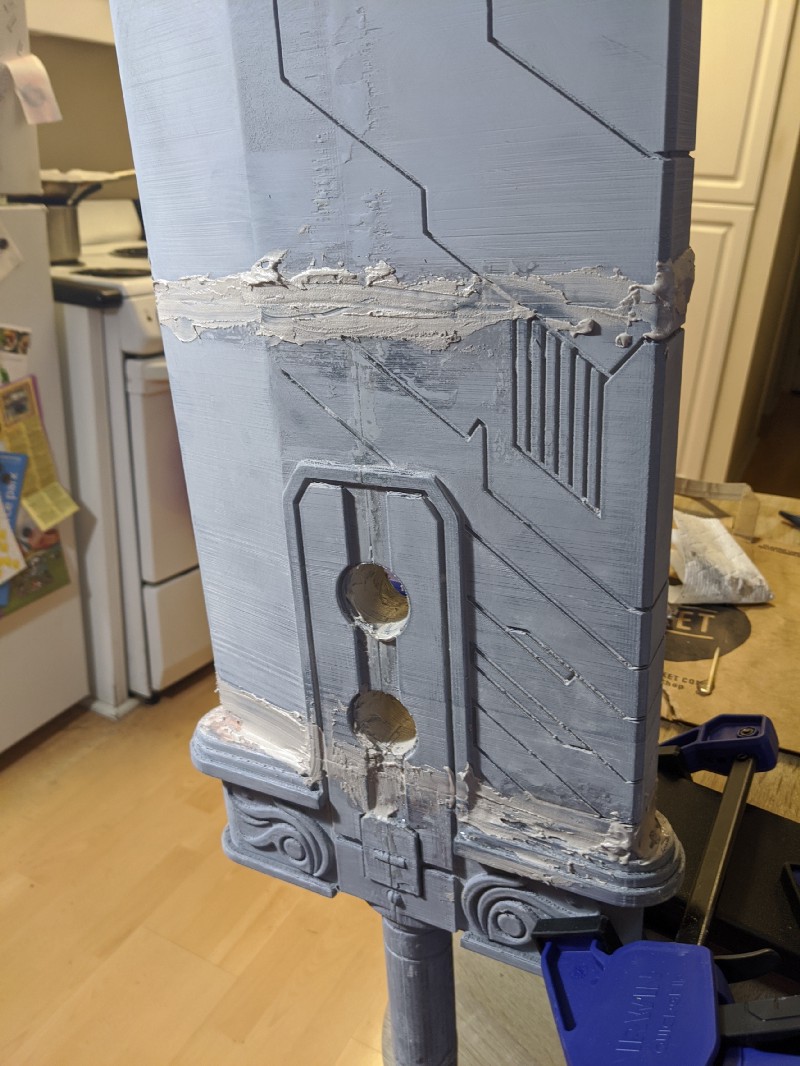
After the epoxy cured, there was still a seam between the 3D printed parts. I used some bondo to cover up the gaps between parts. Bondo is very quick to dry and very easy to sand, making it perfect to cover up all the seams for the sword.
Finishing
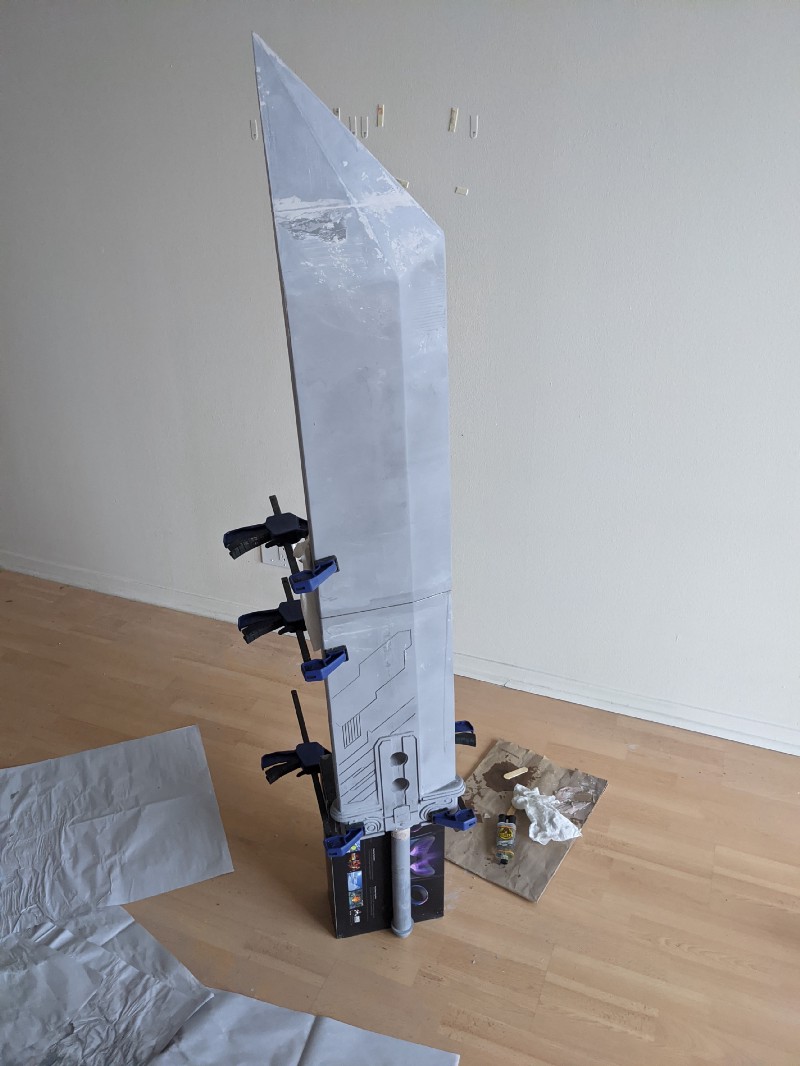
This was the first time I ever attempted to finish one of my 3D prints. It was a great learning experience! to give the prints a smooth finish, I used some sandpaper and a sanding block. An electric sander may be easier, but I didn’t have one on hand, and worried about melting the plastic if I wasn’t careful.
I didn’t want to sand away too much of the plastic itself. I started by applying a layer of sandable filler primer to try to fill in the gaps between layers. Wet sanding the parts worked very well, as dry sanding made a lot of dust and mess to clean up. I repeated the primer / sanding process a couple of times until the print had a nice smooth finish.

Once the entire sword was smooth and primed, I coated it with charcoal black paint. packing paper worked great as a surface to paint on, as the sheets were large and easy to dispose of. After a few layers of charcoal black, I used blue tape to mask off the parts I wanted to keep black. I used nickel paint to give the sword it’s iconic grey edge. After some more very careful masking, I used gold paint to color the hilt of the sword.
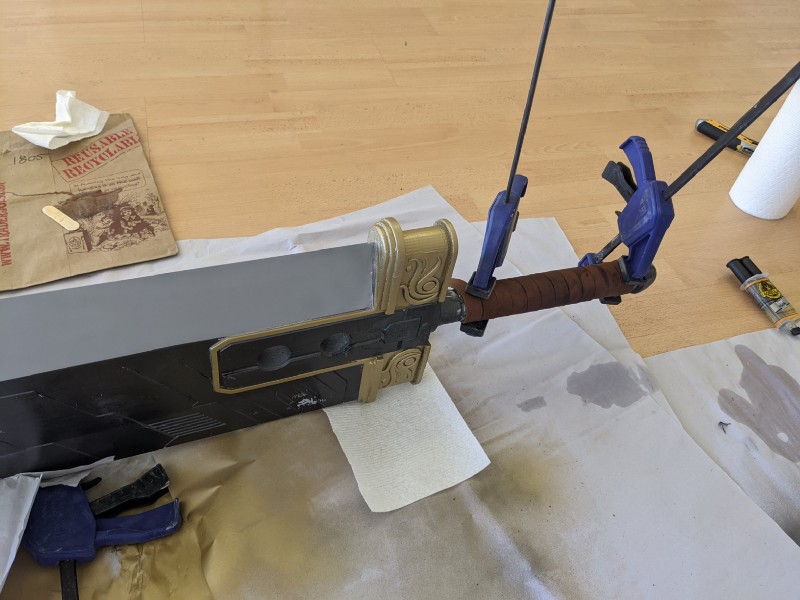
With the painting completed, It was time to wrap a leather strip around the handle. I applied some epoxy to the handle, and clamped one end of the strap to it. Then I carefully wrapped the strip along the handle, trying to avoid gaps between each wrap. I clamped the other end of the strip at the top of the handle, and let the epoxy cure.
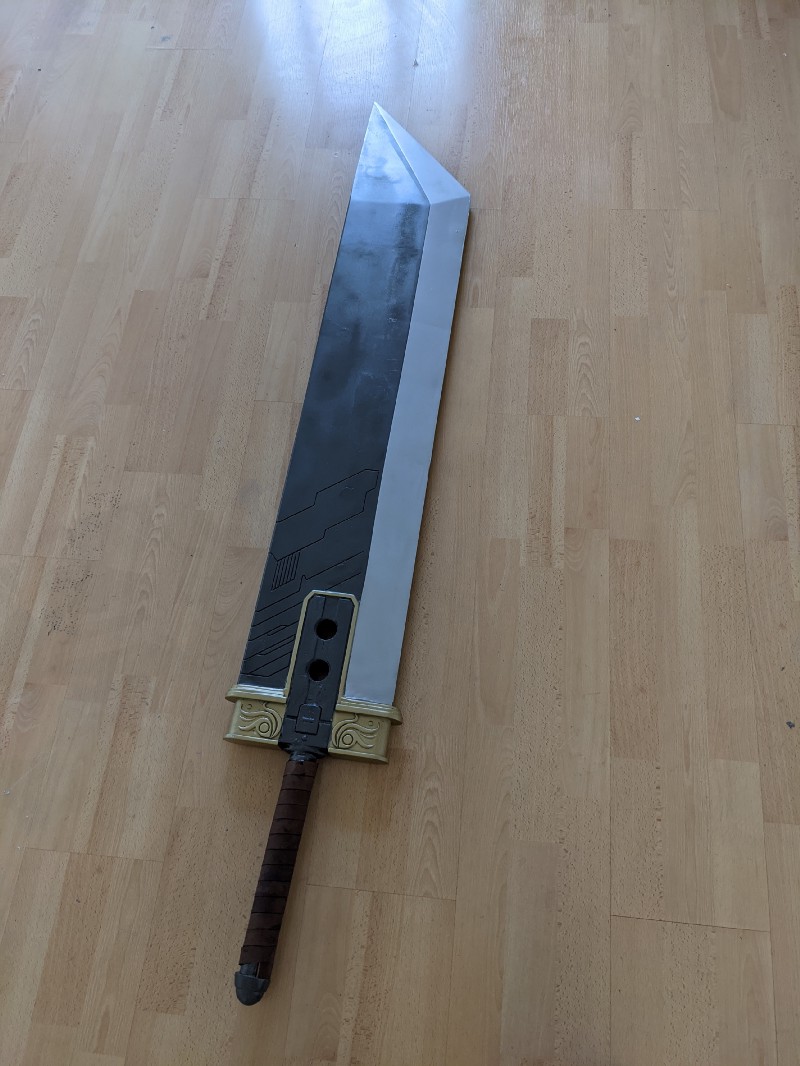
Final Notes
Most of the time went to sanding and priming the sword, as I tried to make it look perfect. I spent a lot of time trying to remove the 3D print layer lines, fix the seams, and cover up any scratches. There are still some imperfections, but I had to call it ‘good enough’ and finish the project. It turns out the remaining imperfections add a lot of character to the sword, and I didn’t need to try to be perfect. I highly doubt the real buster sword is free of scratches!
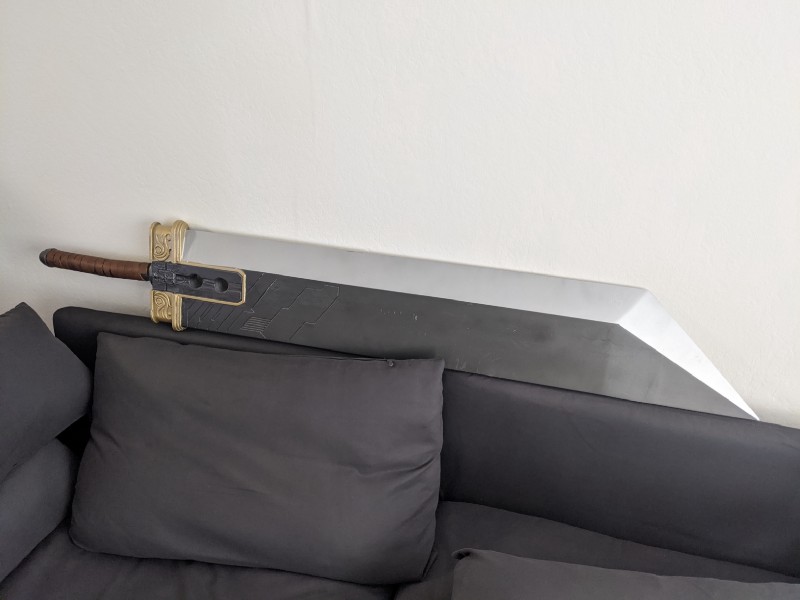
The finished sword is about 7 pounds. The blade is about 5 feet, and the full length is about 6 feet (perfect for social distancing). It’s pretty sturdy! It’s strong enough to wave around, but I’m glad it looks good enough to sit on a wall.
If you want to talk about 3D printing, come on over to the r/SBCGaming Discord and visit the #3D_printing channel!
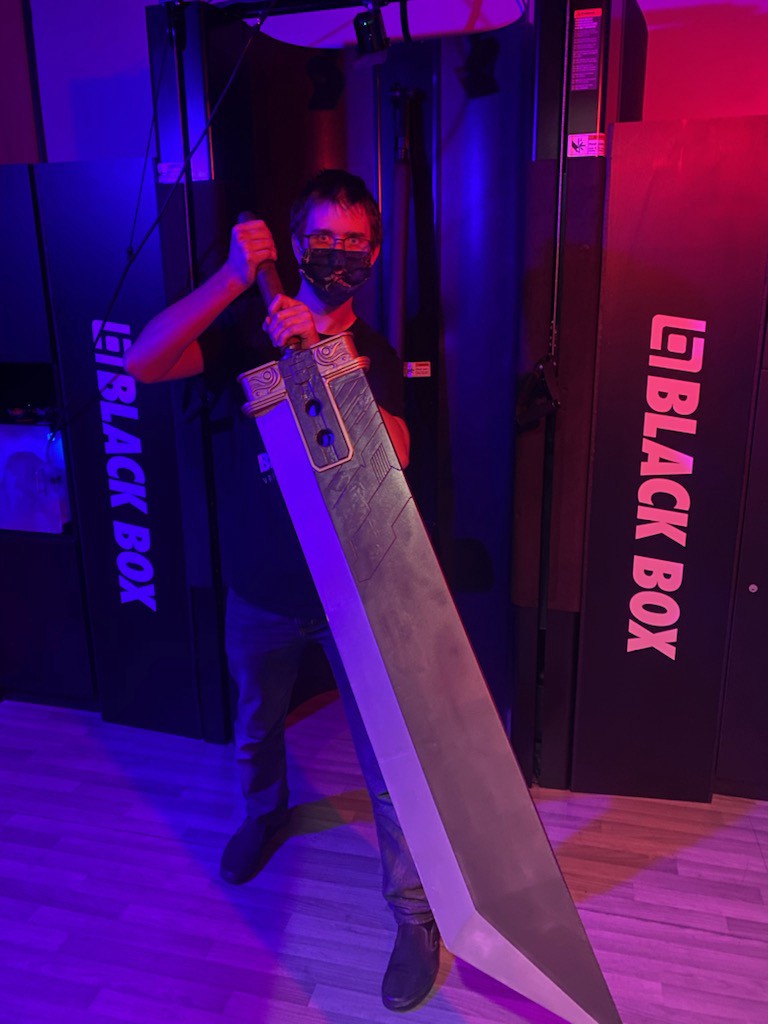 My social distancing sword (thanks to blackbox VR for the photo with great lighting!)
If you love this project, feel free to follow me on Medium, Twitter, or on Youtube for more! I also host a backup of my blog at https://monofuel.dev/
As an Amazon Associate I earn from qualifying purchases.